
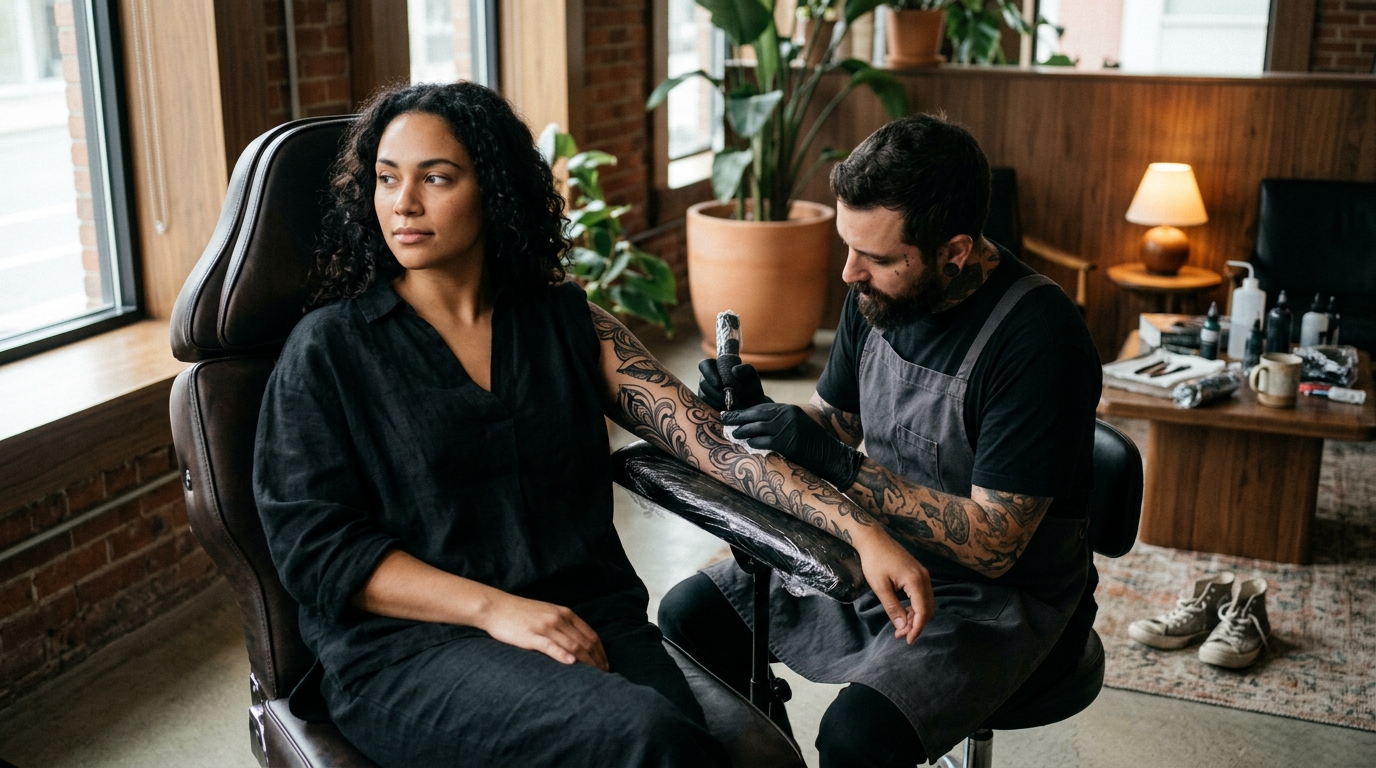
How to Handle Pain During a Long Tattoo Session: A Practical Survival Guide
Large-scale tattoo work — sleeves, back pieces, full chest panels — demands hours in the chair. The excitement of watching your design come to life is real, but so is the discomfort. This guide breaks down every evidence-backed strategy for managing pain before, during, and after an extended tattoo session so you can sit longer, stay calmer, and walk away with better ink.
Why Long Tattoo Sessions Hurt More Than Short Ones
A one-hour sitting and a six-hour marathon are entirely different experiences. Understanding the physiology helps you plan around it.
Endorphin Burnout
When a tattoo needle first breaks skin, your body floods the area with endorphins — natural painkillers that dull the initial shock. But this chemical cavalry does not last forever. As the session stretches beyond two or three hours, endorphin levels drop and pain intensifies. This is why the last hour of a long session always feels dramatically worse than the first.
Skin Fatigue and Sensitisation
Repeated needle passes over the same zone compound irritation. Swelling builds, nerve endings become hyper-reactive, and what started as a tolerable scratch can shift into a burning ache. Experienced artists mitigate this by rotating between areas of a large design rather than grinding through one section for hours.
Postural Strain
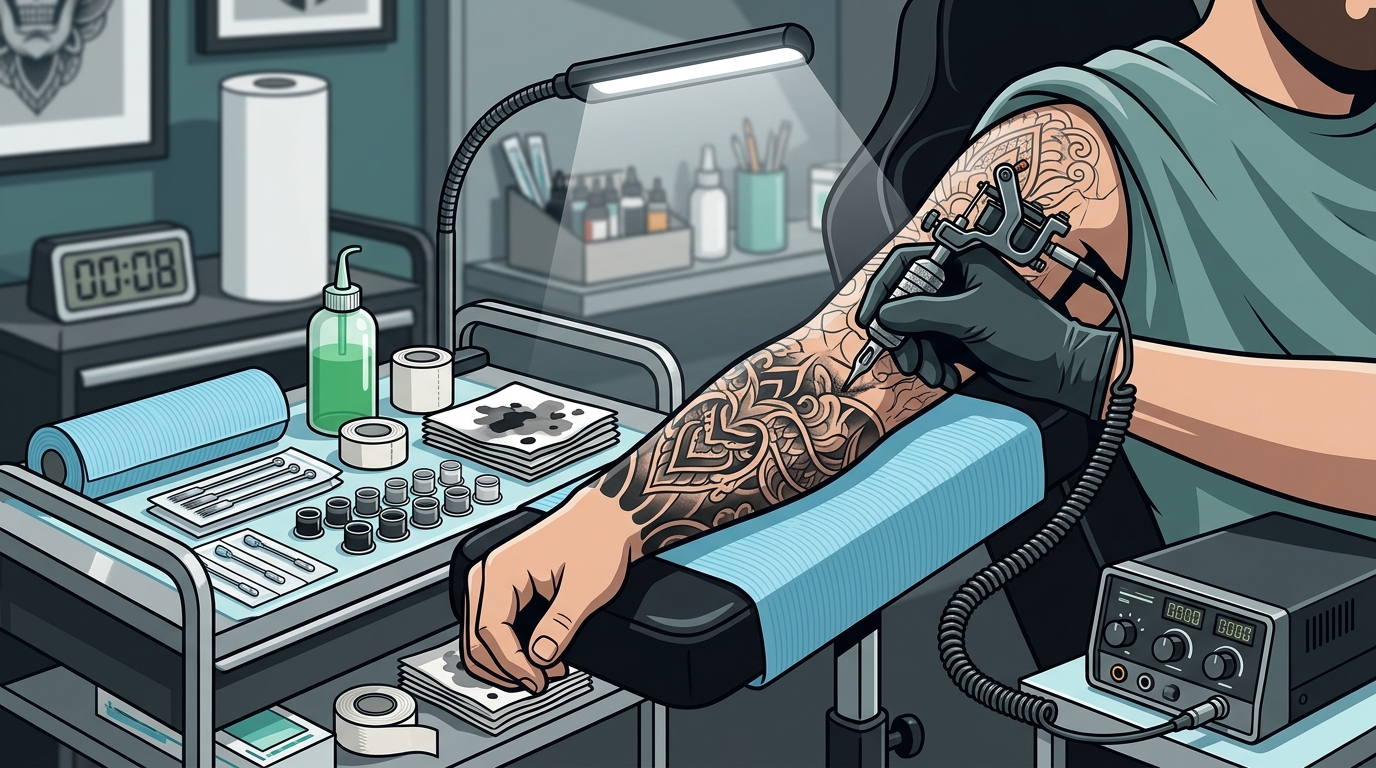
Holding a single position — face-down on a table, arm extended over an armrest — creates secondary pain from muscle stiffness and joint compression. This positional discomfort amplifies your perception of needle pain, creating a feedback loop of tension.
Pre-Session Preparation That Actually Reduces Pain
What you do in the 48 hours before your appointment shapes the entire experience.
Sleep Well the Night Before
Sleep deprivation lowers your pain threshold measurably. Studies show that poor sleep increases sensitivity to pain and causes inflammation, leaving you stiff and achy before the needle even touches skin. Aim for seven to nine hours the night before a long sitting.
Eat a Balanced Meal 1–2 Hours Before
Low or fluctuating blood sugar makes pain far less manageable and raises the risk of dizziness or fainting. Eat a protein-rich meal one to two hours before your appointment so your food has time to settle without leaving you bloated.
Hydrate for Days, Not Just Hours
Well-hydrated skin is more elastic, which helps the needle glide and reduces overall discomfort. Start increasing your water intake three to four days before your session, and bring a water bottle to the studio.
Avoid Alcohol and Blood Thinners
Alcohol thins the blood, which causes excessive bleeding during the session. That bleeding makes it harder for ink to settle, forcing the artist to overwork the skin — and overworked skin hurts significantly more. Skip alcohol for at least 24–48 hours beforehand. Avoid aspirin and ibuprofen for the same reason.
Wear the Right Clothing
Loose, comfortable clothes that expose the tattoo area without restriction reduce secondary discomfort. Tight fabric rubbing against freshly worked skin during repositioning adds unnecessary irritation.
Tattoo Numbing Creams and Sprays: What to Know
Topical numbing products are one of the most effective tools for long sessions — but they are not magic. Here is a realistic breakdown.
How They Work
Tattoo numbing creams are topical anesthetics applied to the skin before a session. They work by blocking nerve signals that transmit pain to the brain. The key active ingredient in most formulations is lidocaine, a local anesthetic used in medical and dental procedures for decades. Some products also include tetracaine (a nerve blocker), benzocaine, and epinephrine (a vasoconstrictor that reduces bleeding and extends the numbing window).
Typical Duration
Most numbing creams provide effective relief for one to four hours depending on the formulation, your skin type, and the body area being tattooed. Products that combine a nerve deadener, a nerve blocker, and a vasoconstrictor tend to last the longest. After the cream wears off, some people report that pain feels sharper temporarily as sensation returns.
Application Best Practices
- Clean the skin thoroughly before applying.
- Apply a thick layer (roughly 2–3 mm) 60–90 minutes before your appointment.
- Cover with plastic wrap to prevent the cream from drying and to enhance absorption.
- Leave it on until your artist is ready to begin, then wipe it off completely before stencil placement.
Reapplication During Long Sessions
For sessions over four hours, reapplication is possible during breaks. Because the skin is already broken at that point, numbing occurs faster — typically within 20–40 minutes. Your artist can also switch to a numbing spray designed for use on open skin, which takes effect in just a few minutes and can extend comfort through the later hours.
Talk to Your Artist First
Some artists have strong preferences about numbing products. Certain creams can make the skin texture slippery or affect ink absorption. Always discuss numbing plans during your consultation so the artist can recommend a compatible product or adjust their workflow.
In-Chair Techniques to Outlast the Needle
Once the session is underway, your mindset and micro-habits determine how well you cope.
Rhythmic Breathing
One of the most effective and underused pain-management tools is controlled breathing. A simple pattern — inhale for four counts, hold for four counts, exhale for four counts — shifts your nervous system out of fight-or-flight mode and toward relaxation. This is the same box-breathing technique used by military personnel and first responders under stress.
Distraction Strategies
Your brain can only process so many inputs at once. Occupy it with something other than pain:
- Podcasts or audiobooks: Narrative content engages your brain more deeply than music alone.
- Conversation: Chatting with your artist (when they are open to it) keeps your attention outward.
- Visualization: Imagine each exhale carrying discomfort out of your body. Pair this with your breathing rhythm.
- Mobile games or videos: Low-stakes phone activities work well for areas where you can hold a device.
Strategic Breaks
There is no badge of honour for sitting without a break. Short pauses to stretch, walk, drink water, and eat a snack recharge your body and reset your pain tolerance. Most professional artists not only allow breaks — they encourage them, because a relaxed client produces a better canvas.
Snack Smart
Keep your blood sugar steady by bringing easy-to-eat snacks: granola bars, fruit, chocolate, juice, or a sports drink. A sugar crash mid-session can make pain spike and increase the risk of feeling lightheaded.
Positional Adjustments
Ask your artist if small shifts in posture are possible. Even a slight change in angle can relieve a pressure point that has been building for an hour. Studios often have cushions and bolsters available — do not be shy about asking for them.
The Role Your Artist Plays in Your Comfort
A skilled tattoo artist does more than draw beautifully — they manage your physical experience.
Technique Matters
Experienced artists work efficiently, with precise needle depth and consistent speed. A professional who moves faster with greater precision means less time under the needle overall, which directly reduces total pain exposure.
Session Structuring
Rather than completing every detail in one area before moving on, many experienced artists rotate zones across a large piece. This gives overworked skin micro-recovery windows and prevents any single area from becoming unbearably sensitive.
Communication
The best sessions happen when you feel safe enough to say "I need a minute." Openly discuss your pain tolerance and concerns before the session starts. A good artist will adapt their pace, suggest break intervals, and adjust technique to minimise discomfort throughout the day.
Post-Session Recovery: Minimizing Lingering Pain
The work does not stop when the machine turns off. Proper aftercare reduces soreness and speeds healing.
Expect Some Discomfort
After a long session the tattooed area will feel like a combination of a sunburn and a deep bruise. Swelling, warmth, and mild oozing of blood and plasma are normal for the first 24–72 hours.
Follow Aftercare Instructions
Your artist will give you specific aftercare guidance. Generally this includes keeping the area clean, applying a thin layer of recommended aftercare balm, avoiding direct sunlight, and not submerging the tattoo in water for the first two weeks.
Stay Hydrated and Rest
Your body has been through a physically taxing process. Drink plenty of water, eat nutrient-dense food, and prioritise sleep in the days following your session to support immune function and healing.
Avoid NSAIDs Immediately After
While it is tempting to reach for ibuprofen, blood-thinning painkillers can increase bleeding from the fresh tattoo and delay the healing process. Paracetamol (acetaminophen) is generally a safer choice if you need relief — but check with your artist or doctor.
Key Takeaways
- Prepare your body: Sleep, hydration, and a solid meal are the foundation of a manageable session.
- Consider numbing cream: Applied correctly 60–90 minutes beforehand, topical anaesthetics can reduce pain for one to four hours. They can be reapplied during breaks for longer sessions.
- Breathe and distract: Controlled breathing and mental engagement are free, effective, and available for the entire session.
- Communicate openly: Tell your artist when you need a break. A relaxed body produces better tattoo results.
- Avoid alcohol, aspirin, and sleep deprivation: These common mistakes amplify both pain and bleeding.
- Plan for recovery: Aftercare is pain management too — follow instructions to avoid prolonged discomfort.
Frequently Asked Questions
How long can you realistically sit for a tattoo?
Most people can comfortably sit for three to five hours with breaks. Sessions beyond six hours are physically demanding and typically reserved for experienced collectors who know their limits. Your artist may recommend splitting very large work into multiple sittings spaced several weeks apart to allow healing between sessions.
Does tattoo numbing cream actually work?
Yes. Numbing cream significantly dulls pain, particularly during the first one to three hours of a session. It will not eliminate all sensation, but it makes the process much more manageable. Always discuss usage with your artist first, as some have preferences about brands and application methods.
What should I eat before a long tattoo session?
Choose a protein-rich, balanced meal one to two hours before your appointment. Foods like eggs, oatmeal, chicken, rice, or a hearty sandwich provide sustained energy. Bring snacks and a sugary drink to maintain blood sugar throughout the session.
Is it okay to take painkillers before getting tattooed?
Avoid aspirin and ibuprofen, as they thin the blood and increase bleeding. This forces the artist to overwork the skin, which actually increases pain and can compromise ink retention. Paracetamol is generally considered a safer alternative, but consult your doctor if you have concerns.
What are the most painful body areas for long sessions?
Areas with thin skin, many nerve endings, or proximity to bone tend to be the most painful. Ribs, spine, elbows, kneecaps, armpits, and feet are widely considered the most intense locations. If your design covers one of these areas, a numbing product and a plan for regular breaks become especially important.
Can I use numbing cream for a full-day tattoo session?
You can, but you will need to reapply. Most creams last one to four hours. During a break, a fresh layer can be applied to the next area to be worked on, and because the skin is already open it numbs more quickly — usually within 20–40 minutes. Numbing sprays designed for broken skin can also be used between cream applications.