How to Reduce Pain During a Rib or Spine Tattoo
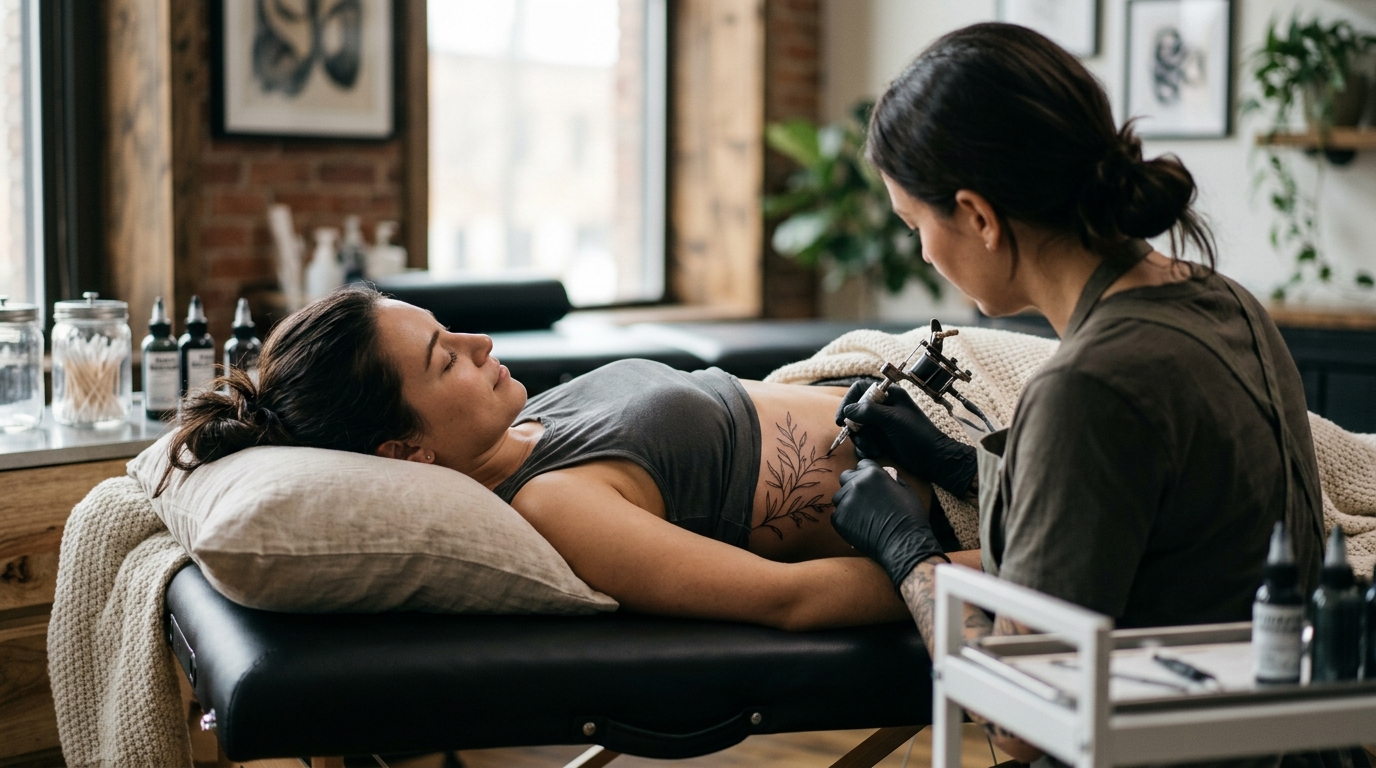
Rib and spine tattoos look incredible — but they consistently rank among the most painful placements on the body. The good news? You don't have to white-knuckle your way through the session. With the right preparation and in-chair techniques, you can dramatically lower your discomfort and walk away with clean ink you love.
Why Rib and Spine Tattoos Hurt So Much
Before diving into solutions, it helps to understand the anatomy behind the pain. The ribcage and spine share three characteristics that amplify discomfort:
- Minimal padding. The skin over your ribs is extremely thin, and there is virtually no fat or muscle to cushion the impact of the needle. Every pass resonates through the bone.
- Dense nerve endings. The spine area is loaded with nerve endings, thin skin, and sits close to the bone — three factors that push it into the highest pain tier alongside the sternum and feet.
- Constant movement from breathing. With every breath your rib cage expands and contracts, stretching tender, freshly tattooed skin against the needle and intensifying the sensation with each pass.
On a standard 1-to-10 pain scale, ribs typically score an 8 to 10 for most people, putting them alongside the sternum, spine, inner elbow, kneecap, and feet.
Step 1: Prepare Your Body Days in Advance
Pain management starts well before you sit in the chair. These physiological steps make a measurable difference.
Hydrate Your Skin and Body
Begin drinking plenty of water and moisturising your skin at least three to four days before your tattoo. Dehydrated skin is tighter, less pliable, and more painful to work on. Use an unscented moisturiser on the rib or spine area daily in the lead-up to your appointment.
Prioritise Sleep
Sleep deprivation lowers your pain tolerance measurably. Aim for seven to eight hours per night in the week leading up to your appointment. Your body needs to be well-rested to handle a demanding session.
Eat a Proper Meal
Eat one to two hours before your appointment — something with protein and complex carbohydrates, not just sugar. Your blood sugar will drop during a painful session, and starting on an empty stomach is a recipe for dizziness or even passing out.
Avoid Blood Thinners
Skip alcohol, aspirin, and ibuprofen for at least 24 to 48 hours before your session. Blood thinners increase bleeding, which makes the tattoo harder for your artist and can affect ink retention.
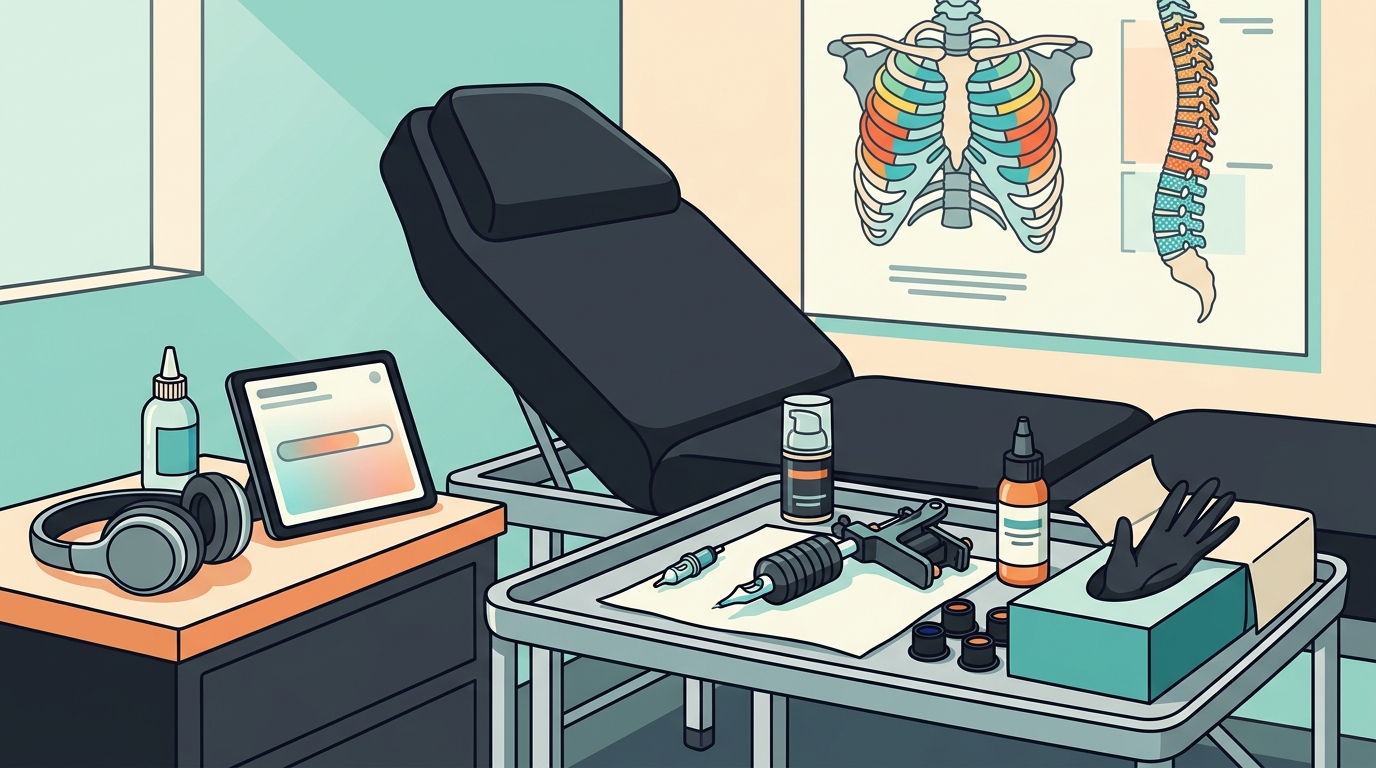
Step 2: Use Topical Numbing Cream Strategically
For high-pain placements like the ribs and spine, a quality topical anesthetic is arguably the single most effective tool in your pain-reduction arsenal.
How Numbing Cream Works
Tattoo numbing cream is a topical anesthetic that works by dulling or temporarily blocking nerves from sending pain signals to your brain. The key ingredient in most formulas is lidocaine, a local anesthetic used in medical and dental procedures for decades. Research published in the Journal of Clinical and Aesthetic Dermatology found that 70 percent of people using lidocaine-based numbing creams report a more comfortable experience.
Application Protocol
- Take a warm shower to open your pores.
- Apply a thick, even layer of cream to the entire tattoo area on clean, dry skin.
- Cover with plastic cling wrap to enhance absorption (this occlusion step dramatically increases effectiveness).
- Wait 60 to 90 minutes before your appointment time.
- Your artist removes the wrap and wipes the area clean before starting.
What to Expect
During the first two to three hours, most people report pain dropping from an 8–9 out of 10 down to a 3–4 out of 10. After three to four hours the cream begins wearing off. For longer sessions, a numbing spray can be applied to broken skin mid-session to extend relief.
Does It Affect Ink Quality?
High-quality tattoo numbing creams do not affect ink saturation, line retention, or healing when used properly. Professional tattoo artists routinely use them without compromising results. In fact, relaxed skin reduces involuntary movement and muscle tension, allowing artists to create cleaner, more consistent linework.
Step 3: Master In-Chair Breathing and Distraction
Once the session begins, your mental game matters just as much as your physical preparation.
Box Breathing (4-4-4)
Deep, slow breathing activates your parasympathetic nervous system and literally reduces pain signals. Use box breathing: inhale for four counts, hold for four, exhale for four. This is widely considered the most effective free pain-management tool available during a tattoo session.
Avoid Holding Your Breath
Many people instinctively hold their breath when the needle hits a painful spot. This tenses your entire torso — exactly where your artist is working — and amplifies the pain. Holding your breath makes it worse; consciously continuing to breathe keeps your body from locking up.
Use Distraction Techniques
You are more likely to stay in the manageable dull-pain phase if you are distracted by another activity. Effective distractions include:
- Talking with your artist
- Listening to music or a podcast through earbuds
- Watching a show on your phone
- Squeezing a stress ball or rolled-up towel
Step 4: Choose the Right Artist and Session Strategy
Pick an Experienced Artist
If you are searching for an artist for your rib or spine tattoo, look for one with plenty of experience working on sensitive areas. A skilled artist moves faster and with greater precision, meaning you spend less time under the needle overall. Check portfolios and reviews specifically for rib or spine work before booking.
Consider Splitting Into Multiple Sessions
Larger rib or spine designs can take anywhere from two hours up to 20-plus hours for a full rib-to-hip wrap. Most medium-sized rib pieces take two to four hours, and larger pieces are often split across multiple sessions. Shorter sessions mean less cumulative fatigue and less pain escalation.
Schedule Strategic Breaks
A five-minute break every 30 to 45 minutes is completely normal for rib tattoos. Get up, walk around, drink water, and eat a snack. Do not try to power through heroically — a client who is twitching or wincing makes it extremely difficult for an artist to pull the long, clean, flowing lines that rib tattoos often require.
Step 5: Manage Post-Session Soreness
The pain does not end when the needle stops. Smart aftercare keeps discomfort minimal during healing.
- Wash gently with mild, unscented soap and pat dry with a clean towel.
- Apply a thin layer of fragrance-free ointment recommended by your tattoo artist.
- Wear loose clothing to avoid rubbing against the fresh tattoo. For rib tattoos, skip tight shirts and restrictive undergarments.
- Sleep on the opposite side if your tattoo is on one side of your ribs.
- Avoid sun exposure by covering the tattoo with clothing while it heals.
- Skip soaking — no pools, baths, or ocean water until fully healed.
Immediate soreness and sensitivity typically last three to seven days. The area may feel bruised and tender to the touch. Most people find the discomfort manageable with acetaminophen (avoid aspirin and ibuprofen for the first 24 hours as they thin the blood).
Key Takeaways
- Rib and spine tattoos score 8–10 on the pain scale due to thin skin, dense nerves, and bone proximity.
- Hydrate, sleep well, eat properly, and avoid blood thinners for days before your appointment.
- Apply lidocaine-based numbing cream 60–90 minutes before your session under plastic wrap for maximum effect.
- Use box breathing (4-4-4) during the session — it is the single best free pain-management technique.
- Take regular breaks every 30–45 minutes and use distraction methods.
- Choose an experienced artist familiar with sensitive placements and consider splitting large pieces across multiple sessions.
Frequently Asked Questions
How painful is a rib tattoo compared to other placements?
Ribs consistently rank in the top three most painful tattoo placements. On a 1-to-10 scale, most people rate them 8 to 10, compared with 3 to 5 for outer arms and thighs. The lack of fat padding, abundance of nerve endings, and constant movement from breathing all contribute to the intensity.
Does numbing cream actually work for rib and spine tattoos?
Yes. Lidocaine-based numbing creams are especially effective on thin-skinned areas like the ribs and spine because the cream absorbs efficiently. Most people report pain dropping from 8–9 out of 10 to 3–4 out of 10 for the first two to three hours. Always discuss cream choice and application with your artist beforehand.
Can I take painkillers before a tattoo?
Avoid aspirin and ibuprofen — they thin the blood and increase bleeding, which can affect ink quality. Acetaminophen (paracetamol) is generally considered safe before a session but will only take a slight edge off. Numbing cream and breathing techniques are far more effective.
How long does a rib tattoo session usually last?
Small text or simple designs may take 30 minutes to an hour. Most medium-sized rib pieces take two to four hours. Full rib-to-hip compositions can require 20-plus hours spread across multiple sittings.
Should I get a rib tattoo as my first tattoo?
It is generally recommended to start in a less painful area — such as the outer arm, upper chest, calf, or thigh — to understand your pain threshold first. If your heart is set on a rib or spine piece for your debut, prepare thoroughly with numbing cream, hydration, and a shorter design.