
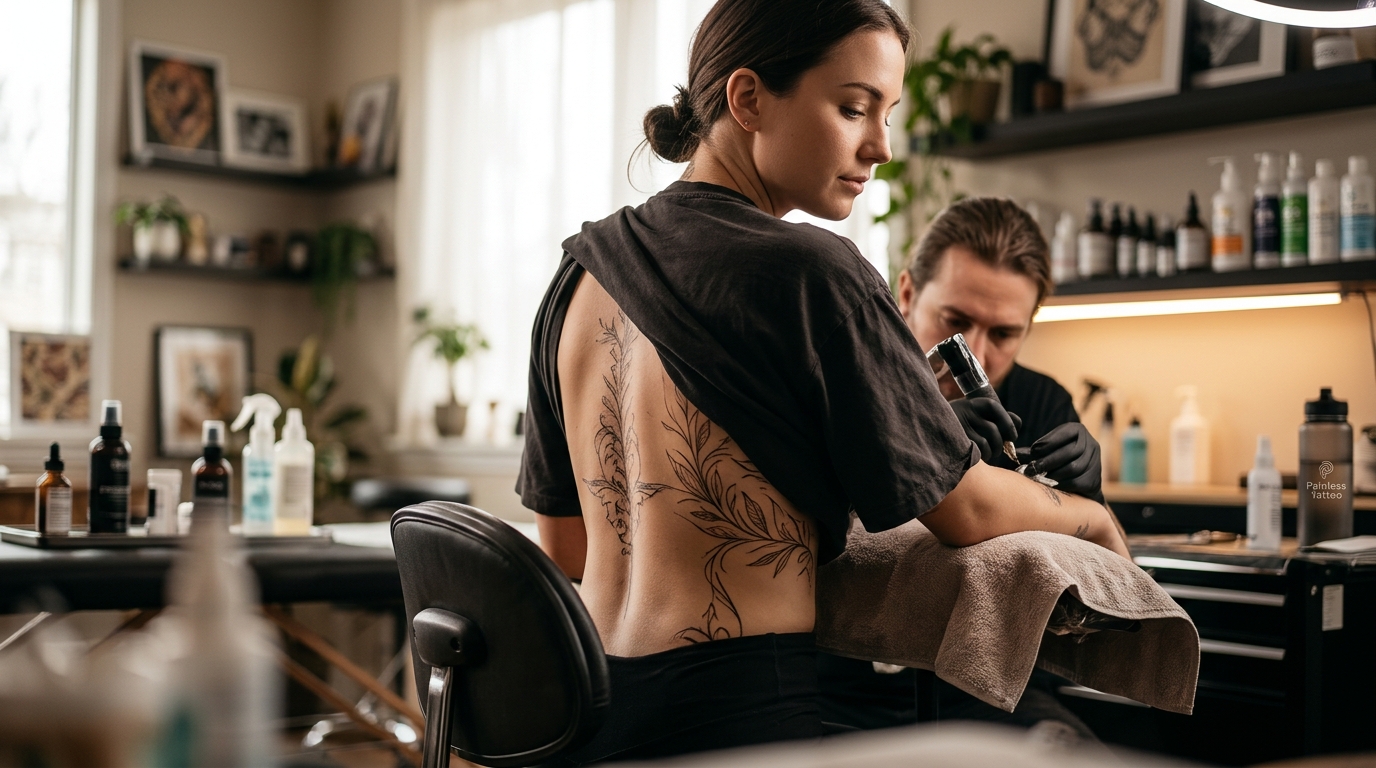
Rib and spine tattoos consistently rank among the most uncomfortable placements on every pain chart. The anatomy is straightforward: thin skin stretched over bone, dense nerve networks, and almost zero fat padding. None of that means the session has to be miserable. With the right preparation before your appointment, the right tools during the session, and a solid aftercare sequence once you leave the chair, you can sit longer, stay calmer, and walk out with clean work you love. This guide breaks down each phase so you know exactly what to have ready.
Why Rib and Spine Tattoos Hurt More
Pain during tattooing is driven by three anatomical factors: skin thickness, fat padding, and nerve density. The rib cage and spine check every box for high sensitivity. According to Healthline's tattoo pain guide, the most painful placements are those with the least fat, most nerve endings, and thinnest skin.
The Rib Cage
Your ribs sit directly beneath the skin with virtually no muscle or fat cushion. Every pass of the machine sends vibration straight into bone. On top of that, breathing causes constant movement, which stretches freshly worked skin against the needle and makes it harder for your artist to pull clean lines.
The Spine
A spinal tattoo is a bony area full of nerve endings, with the spinal cord running just beneath the surface. As Saniderm's pain chart notes, the spine is almost exclusively bone and nerves, making it one of the most intense spots to sit through.
The Breathing Factor
Rib work has a unique challenge no other placement shares: involuntary torso movement. Every inhale expands the rib cage, shifting the skin. This means your artist needs you to breathe slowly and consistently, and any tension you hold amplifies discomfort.
Where Ribs and Spine Fall on the Pain Scale
Pain is subjective, but most experienced tattoo artists and pain charts place both locations in the top tier. The table below shows how ribs and spine compare to other common placements.
| Placement | Typical Pain Rating (1-10) | Key Factor |
|---|---|---|
| Outer Forearm | 3-4 | Thick skin, moderate padding |
| Upper Arm / Shoulder | 3-5 | Muscle cushion |
| Thigh | 4-5 | Fleshy, fewer nerve endings |
| Calf | 5-6 | Moderate padding, some bone |
| Rib Cage | 8-10 | Thin skin, bone, breathing motion |
| Spine | 8-9 | Bone, dense nerve network |
| Sternum | 8-9 | Very thin skin over flat bone |
A topical numbing product is one of the primary reasons people targeting high-pain zones like ribs and spine look into preparation tools before their appointment. Topical numbing cream is a product containing ingredients like lidocaine that is applied to the skin surface to temporarily reduce sensation in a localized area.
Before the Session: Your Preparation Checklist
What you do the day before and the morning of your appointment directly affects how you sit. Here is a practical checklist to work through before you head to the studio.
- Get a full night of sleep. Sleep deprivation lowers your pain threshold and increases anxiety.
- Eat a solid meal 1-2 hours before. Low blood sugar leads to lightheadedness and makes discomfort feel sharper.
- Hydrate well in the days leading up. Well-hydrated skin accepts ink more evenly and tends to be less reactive.
- Wear loose, comfortable clothing. For rib work, a button-up or zip hoodie is easier than pulling a tight shirt over fresh ink.
- Have your numbing cream ready. Talk to your artist ahead of time. Many artists work with clients who use Painless Tattoo Numbing Cream as a pre-session tool. Always coordinate with your tattoo artist on timing and placement.
- Pack snacks and water. Rib and spine sessions can run long, and your body needs fuel.
- Bring headphones or a distraction. Music, podcasts, or conversation with your artist can shift your focus away from sensation.
During the Session: Staying Comfortable
Once you are in the chair (or lying on the table), your goal is to stay as still and relaxed as possible. Tensing up increases perceived pain and makes your artist's job harder.
Breathing Technique
Long, slow exhales during needle passes help keep your torso steady. Short, shallow breathing tenses the ribcage and amplifies discomfort. Your artist may cue your breathing rhythm, especially during line work.
Mid-Session Numbing Support
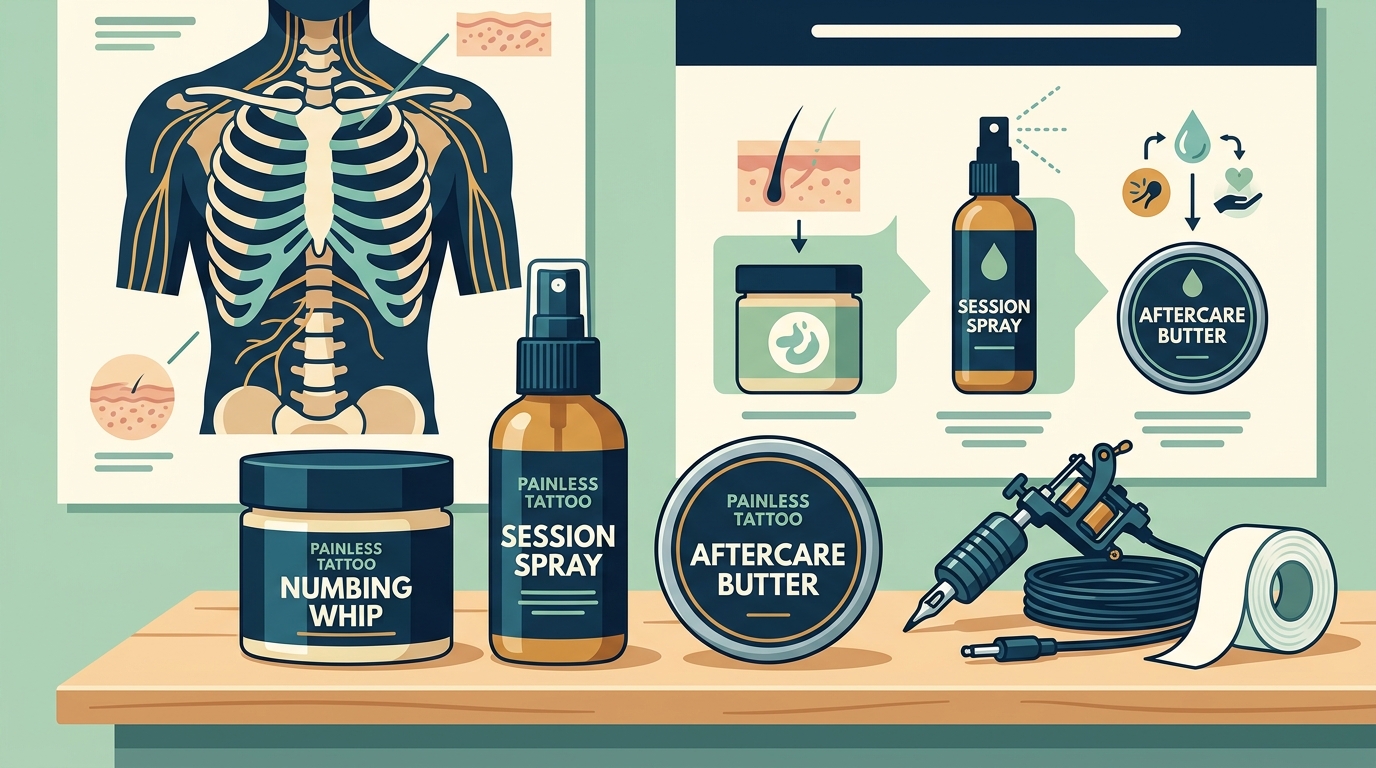
If your session runs multiple hours, many artists reach for a secondary numbing product once the skin is broken. Painless Tattoo Numbing Spray is designed for use during the session. A numbing spray is a topical product formulated for application on broken skin, allowing the artist to continue working while the area is re-numbed. Talk with your tattoo artist about whether mid-session numbing fits their workflow.
Take Breaks
There is no award for sitting through agony without stopping. Short breaks let your nervous system reset, keep your blood sugar stable, and prevent you from tapping out early on a half-finished piece.
After the Session: Aftercare by Stage
Aftercare is the phase that protects your investment. Rib and spine tattoos come with a few extra considerations because the skin in those areas moves constantly and often rubs against clothing or bedding.
Days 1-3: Initial Healing
Follow your artist's specific instructions. Generally, this phase involves keeping the area clean, lightly moisturized, and free from friction. Many people in the Painless Tattoo community reach for Alpha Tattoo Whip or Alpha Tattoo Butter during this stage. Alpha Tattoo Whip is a vegan aftercare moisturizer with a light, airy texture designed to hydrate freshly tattooed skin without feeling heavy.
Days 4-14: Peeling and Settling
Your tattoo will begin to peel. Resist the urge to scratch or pick. A light layer of aftercare product helps keep skin supple while the surface heals. Alpha Tattoo Butter is a vegan aftercare balm with a denser consistency than Whip, suited for people who prefer more moisture during the peeling phase.
Week 3 and Beyond: Long-Term Maintenance
Once surface healing is complete, regular moisturizing helps preserve ink vibrancy. Alpha Tattoo Oil is a skin-conditioning oil that many customers use as a long-term tattoo maintenance product.
Aftercare Product Comparison: Whip vs. Butter vs. Oil
Painless Tattoo's aftercare line covers different textures and stages. Here is a quick comparison to help you decide which fits your needs.
| Product | Texture | Best For | Vegan |
|---|---|---|---|
| Alpha Tattoo Whip | Light, airy, fast-absorbing | Early aftercare (Days 1-7), warm climates, people who dislike greasy feel | Yes |
| Alpha Tattoo Butter | Rich, creamy, longer-lasting moisture | Peeling phase (Days 4-14), dry climates, overnight application | Yes |
| Alpha Tattoo Oil | Smooth, thin oil | Long-term maintenance, daily skin conditioning, healed tattoos | Check label |
Many customers start with the Whip for its lightweight feel, switch to Butter when peeling begins, and move to Oil once the tattoo is fully healed. Your tattoo artist or a licensed skin care professional can help you decide what works for your skin type.
Key Takeaways
- Ribs and spine are high-pain placements because of thin skin, minimal padding, and dense nerve endings close to bone.
- Most pain charts rate both areas at 8-10 out of 10, placing them in the top tier alongside sternum and feet.
- Preparation matters: sleep, food, hydration, and coordinating with your artist on numbing tools all affect how you sit.
- Topical numbing cream is used before the session; numbing spray is designed for mid-session use on broken skin.
- Controlled breathing during rib work is one of the most effective ways to reduce tension and perceived pain.
- Aftercare for rib and spine tattoos should account for constant skin movement from breathing and bending.
- The Painless Tattoo aftercare line (Whip, Butter, Oil) maps to different healing stages and skin preferences. Browse the full range at the Painless Tattoo product collection.
Frequently Asked Questions
How painful is a rib tattoo compared to other placements?
Rib tattoos are consistently ranked in the top three most painful placements. The combination of thin skin, direct bone contact, and breathing movement puts them at an 8-10 out of 10 on most pain charts. Fleshier areas like the outer forearm or thigh typically sit around 3-5.
Is the spine more painful than the ribs?
Both areas are very painful and rank similarly. The spine brings intense vibration due to direct needle-to-bone contact and a dense nerve network. Ribs add the challenge of constant breathing motion. Individual experiences vary, so talk to your tattoo artist about what to expect for your specific design.
Can I use numbing cream for a rib or spine tattoo?
Many people use topical numbing cream before rib and spine sessions. Coordinate with your tattoo artist ahead of time, as they may have preferences about timing and products. Painless Tattoo offers a numbing cream that many clients bring to appointments for high-pain areas.
How long does a rib tattoo session take?
Session length depends on design complexity. Small text or symbols might take 30 minutes to an hour. Larger floral pieces, figures, or full side panels can run 3-6 hours, sometimes split across multiple sessions. Longer sessions on the ribs benefit from mid-session breaks.
What should I eat before a rib tattoo?
Eat a balanced meal with protein, complex carbohydrates, and healthy fats 1-2 hours before your appointment. Avoid alcohol and excessive caffeine. Bring snacks and water to the studio for longer sessions to keep blood sugar stable.
How do I sleep after a rib or spine tattoo?
Sleep on the opposite side of your body or on your back (for rib tattoos) to avoid pressing fresh ink against sheets. Wear a loose, soft shirt to minimize friction. Clean bedding is important during the initial healing phase.
What aftercare products work best for rib and spine tattoos?
The aftercare sequence is similar to other placements, but you may need to apply product more frequently because rib and spine skin moves constantly. Lightweight products like Alpha Tattoo Whip absorb quickly and are less likely to transfer onto clothing. Transition to Alpha Tattoo Butter during peeling for deeper moisture.
Do rib tattoos take longer to heal?
Surface healing typically takes 2-4 weeks regardless of placement. However, constant motion from breathing can cause more irritation during healing for rib tattoos. Following a consistent aftercare routine and wearing loose clothing helps the process stay on track.
Ready to Prepare for Your Rib or Spine Session?
Browse the full Painless Tattoo product lineup to find the right numbing and aftercare tools for your placement. Coordinate with your tattoo artist, build your preparation checklist, and walk into your appointment ready to sit well.